|
The model in question is the
1/48th Revell F-89C from a few years ago. It’s
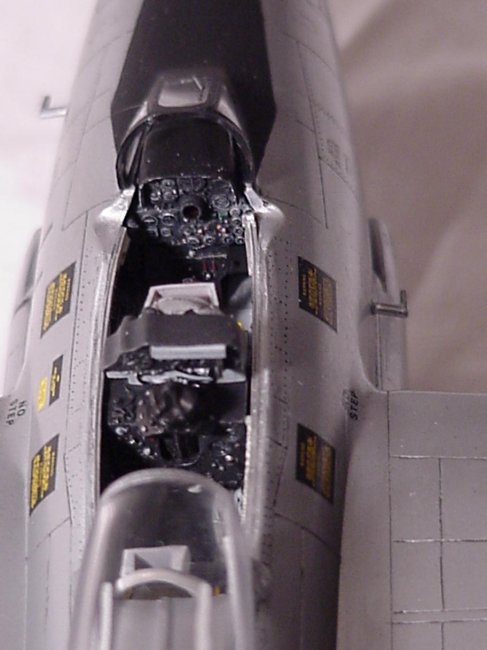
basically a good kit, but needs a little help in a few key areas. The first
thing I did was deep-six the kit cockpit. Instead, I used the Black Box
replacement for the J model. I really don’t know how far off I am, using a J
‘pit in C airframe, as I could find no photos of a real live C cockpit
anywhere. At any rate, as far as I know Revell used
a common cockpit for both C and J models. The whole thing fit with a minimum of
frustration, and only required careful painting to make it look great.
|
Click on images below to
see larger images |
 |
 |
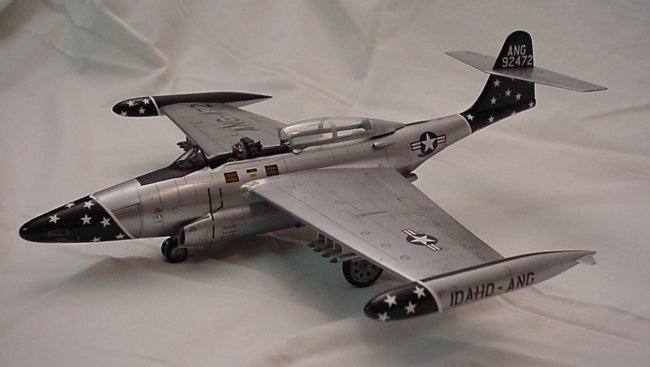
I also decided to scribe the
panel lines. Once you do this, you’re cursed; it’s not really too difficult
to do again, but it is a pain in the butt…and it just looks too good to forgo.
So for every model with raised lines that you build from now on, there’ll be
that nagging little voice in the back of your head whispering “You’re lazy
if you don’t re-scribe….and it looks soooo
good…and all your modeling buddies will be sooo
impressed”. I’m sure there’s a support group out there to deal with this.
Anyhow, the kit’s molded in silver, so the whole procedure was fairly painless
as the original lines remained as ‘ghosts’ after they were sanded down and
the parts polished. I used the Bare Metal Foil scriber to do the work, as I
believe it to be far superior to both Tamiya and
Squadron products.
|
Click on images below to
see larger images |
 |
 |
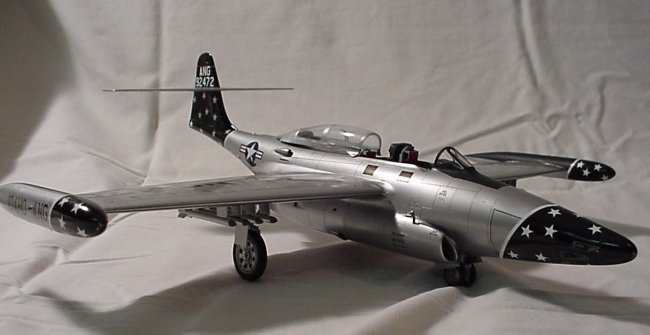
The rest of the project simply
entailed putting the whole thing together and filling all the seams. Fit was OK,
but not stellar, especially the bottom fuselage plate and intakes. You’ll
spend some time swearing making sure it all fairs together nicely.
I painted it using Alclad
II paints over automotive white primer. And finally, markings were provided by Aeromaster
decals. Weathering was accomplished with a mixture of black pastel, water/SD
alcohol, and India ink. To simulate fuel or hydraulic leaks I applied a small
amount of the mix to the surface, and then using a dry paintbrush with fairly
stiff bristles, painted the ‘leak’ aft into the ‘airstream’.
Brad
|
|